
ラズパイで自宅サーバを立てた時の備忘録。
ラズパイにUbuntuのインストールとPCからSSHでログインするところまで。
追記:ラズパイ4で試したときの備忘録はこちらに書いておく。[Raspberry pi4] Ubuntu 20.10 のヘッドレスインストール。 キーボード、ディスプレイなしでインストールする方法
↑ラズパイ4↑でやった方法のほうが楽なのでそちらをオヌヌメします。
試した環境
Raspberry Pi 3
Ubuntu 18.04.04 LTS 32bit
MicroSDカード 16GB Transcend製
Ubuntu のダウンロードとインストール
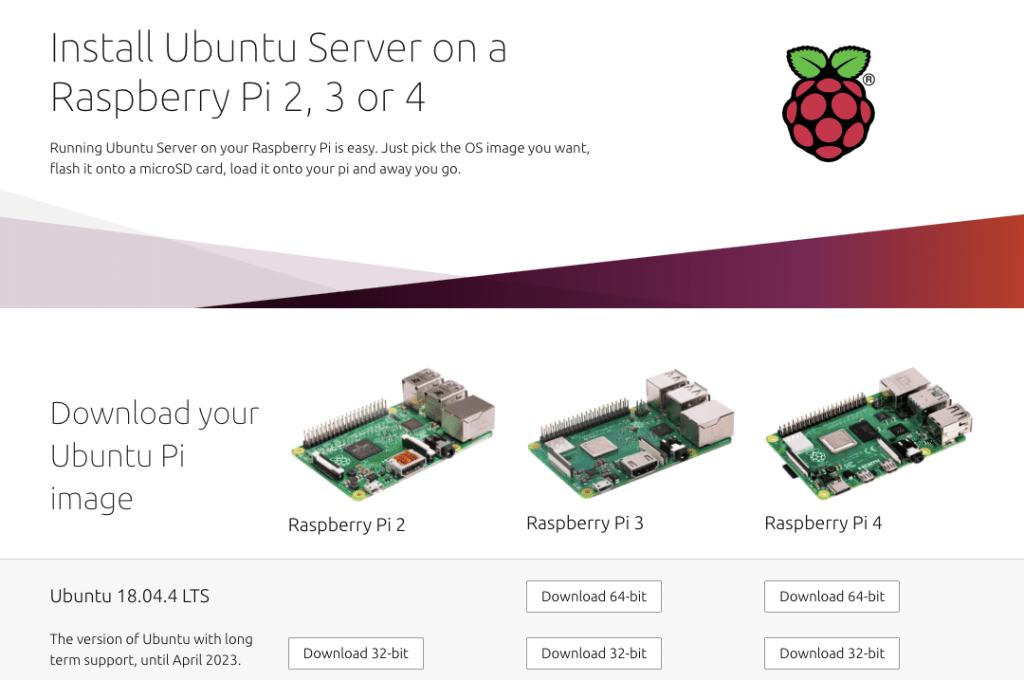
https://ubuntu.com/download/raspberry-pi から OS image をダウンロード。Raspberry Pi 3 はメモリが少ないので、64bit を選択するメリットは限定的とのこと。今回は32bitをダウンロード。
ダウンロードした ubuntu-18.04.4-preinstalled-server-armhf+raspi3.img.xz ファイルを解凍(Windowsの場合は7Zip、MacOSの場合はgunzipで解凍)し、SDカードに書き込みます。
公式サイトでは、Ubuntu、Windows、MacOS それぞれの環境での書き込み方法が書いてあります。diskutil や dd コマンドを使う手順は少し大変なので、私の場合は 解凍した img の拡張子を bin に変更して Chromebook リカバリ ユーティリティ を使ってSDカードに書き込んでいます。
$ gunzip ubuntu-18.04.4-preinstalled-server-armhf+raspi3.img.xz
$ mv ubuntu-18.04.4-preinstalled-server-armhf+raspi3.img ubuntu-18.04.4-preinstalled-server-armhf+raspi3.bin
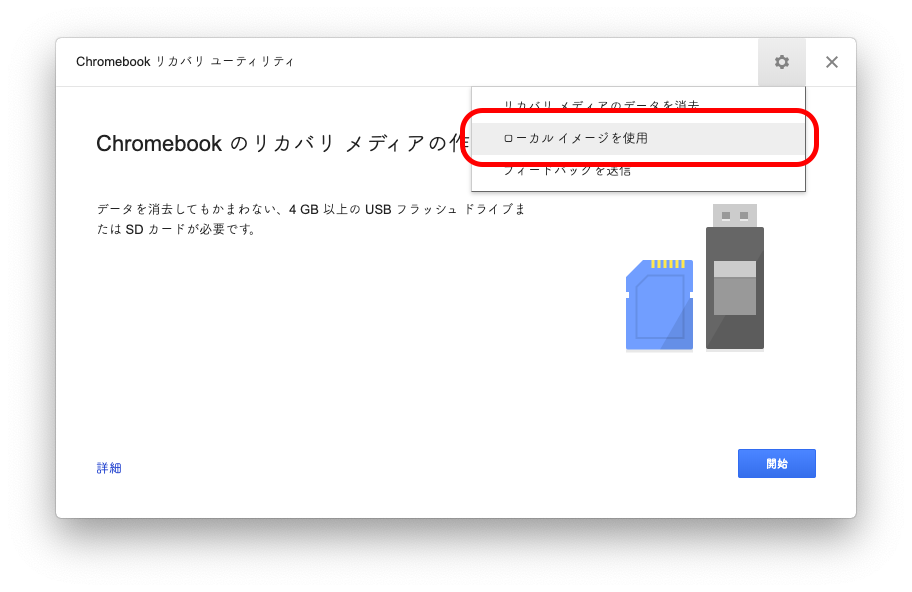
右上の⚙ボタンからローカルイメージを選択できるので、解凍&リネームしたラズパイ用のイメージを選択します。
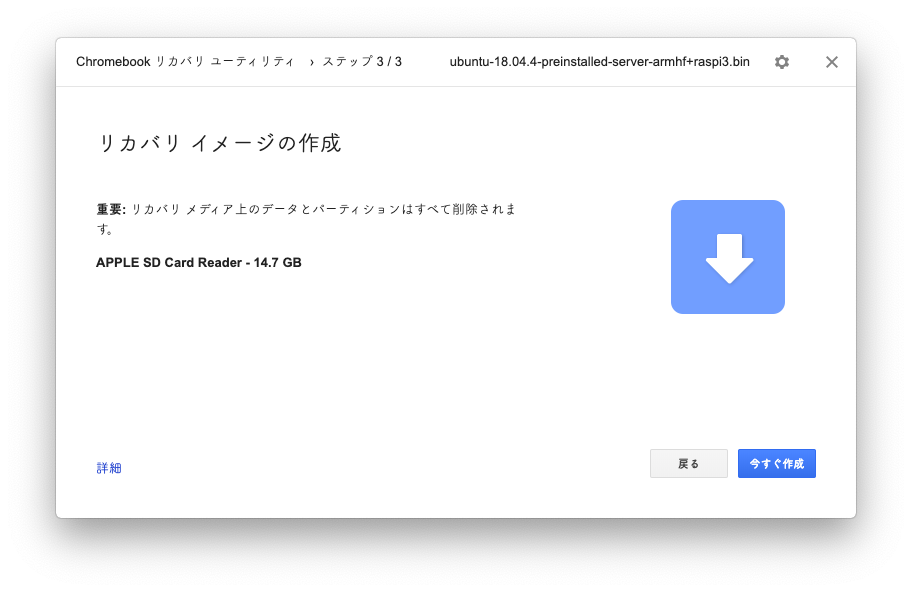
書き込み対象のSDカードスロットを選択。

「今すぐ作成」のボタンを押すと、書き込みが始まります。(管理者権限が必要)
3分ぐらいで完成。
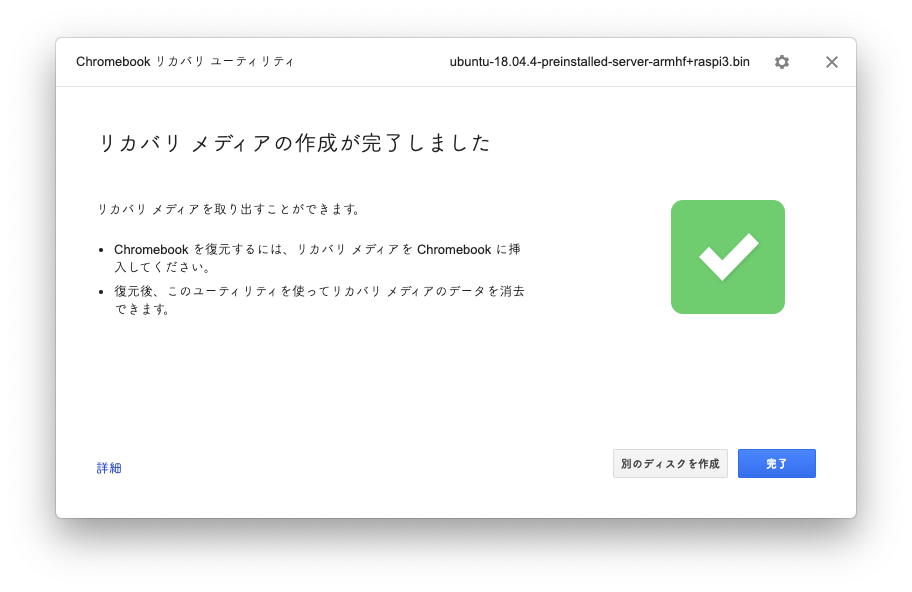
SDカードへの書き込みは、MacもWinも Chromebook リカバリ ユーティリティ を使うと楽やね。ラズパイには電源だけしか付けないから、もう少しPC側で設定をおこなうのじゃ。
SDカードを取り出して、Raspberry Pi にセットすれば Ubuntuが起動します。
ただ、今回はラズパイ側にキーボードとディスプレイが無いため、ブート直後からSSH接続ができるように、Ubuntuの起動前にWIFIの設定(IP固定)を入れておきます。
ブート前にネットワークの設定を行う
SDカードの system-boot というパーティションに network-config というファイルがあり、起動時のネットワーク設定がおこなえます。
エディタで開いて、WIFIの設定(SSID、パスワード、固定IP、デフォルトゲートウェイ)をしておきます。有線LANを使う場合は、eth0を固定IPにすれば良いかと思います。
# This file contains a netplan-compatible configuration which cloud-init
# will apply on first-boot. Please refer to the cloud-init documentation and
# the netplan reference for full details:
#
# https://cloudinit.readthedocs.io/
# https://netplan.io/reference
#
# Some additional examples are commented out below
version: 2
ethernets:
eth0:
dhcp4: true
optional: true
wifis:
wlan0:
dhcp4: false
gateway4: 192.168.11.254
nameservers:
addresses:
- 192.168.11.254
addresses:
- 192.168.11.3/24
optional: false
access-points:
HomeSSID-012345:
password: “HomePassword012345”
#wifis:
wlan0:
dhcp4: true
optional: true
access-points:
homessid:
password: “S3kr1t”
myotherlan:
password: “correct battery horse staple”
workssid:
auth:
key-management: eap
method: peap
identity: “me@example.com”
password: “passw0rd”
ca-certificate: /etc/my_ca.pem
メモ:
wlan0 は optional: false にしておかないとWIFIにつながってくれなかった。タイミング的なもの?
ユーザの設定
SDカード上で、user-data というファイルをいじれば、ユーザなどの設定が行えます。ubuntu ユーザを削除して別のユーザIDにしたかったのですが、ここではできなそうです。まずは ubuntu ユーザでログインし、その後 ubuntu ユーザをリネームすることにします。試してはいないのですが、users: セクションでユーザの追加、packages: セクションでパッケージの追加ができそうです。
#cloud-config
This is the user-data configuration file for cloud-init. By default this sets
up an initial user called “ubuntu” with password “ubuntu”, which must be
changed at first login. However, many additional actions can be initiated on
first boot from this file. The cloud-init documentation has more details:
https://cloudinit.readthedocs.io/
Some additional examples are provided in comments below the default
configuration.
Enable password authentication with the SSH daemon
ssh_pwauth: true
On first boot, set the (default) ubuntu user’s password to “ubuntu” and
expire user passwords
どうせ後で変えるから初回ログイン時のパスワード変更はしない
chpasswd:
expire: false
list:
- ubuntu:ubuntu
Add users and groups to the system, and import keys with the ssh-import-id
utility
#groups:
#- robot: [robot]
#- robotics: [robot]
#- pi
#users:
#- default
#- name: robot
gecos: Mr. Robot
primary_group: robot
groups: users
ssh_import_id: foobar
lock_passwd: false
passwd: $5$hkui88$nvZgIle31cNpryjRfO9uArF7DYiBcWEnjqq7L1AQNN3
Update apt database and upgrade packages on first boot
#package_update: true
#package_upgrade: true
Install additional packages on first boot
#packages:
#- pwgen
#- pastebinit
#- [libpython2.7, 2.7.3-0ubuntu3.1]
Write arbitrary files to the file-system (including binaries!)
#write_files:
#- path: /etc/default/keyboard
content: |
# KEYBOARD configuration file
# Consult the keyboard(5) manual page.
XKBMODEL=“pc105”
XKBLAYOUT=“gb”
XKBVARIANT=""
XKBOPTIONS=“ctrl: nocaps”
permissions: ‘0644’
owner: root:root
#- encoding: gzip
path: /usr/bin/hello
content: !!binary |
H4sIAIDb/U8C/1NW1E/KzNMvzuBKTc7IV8hIzcnJVyjPL8pJ4QIA6N+MVxsAAAA=
owner: root:root
permissions: ‘0755’
Run arbitrary commands at rc.local like time
#runcmd:
#- [ ls, -l, / ]
#- [ sh, -xc, “echo $(date) ‘: hello world!’” ]
#- [ wget, “http://ubuntu.com”, -O, /run/mydir/index.html ]
設定を保存してラズパイを起動すれば、SSHで接続できます。PC側でpingでも打ちながら起動するのを待ちましょう。PuTTY等で接続できればOKです。
ラズパイは電源につないで起動するだけ。そのあとの設定はPCから操作したほうがいろいろ楽です。

ユーザIDを ubuntu のままで、外部に公開したらクラックの標的にされること間違いなし。公開前にユーザIDの変更、パスワードログインの停止、fail2ban などを設定するべし。