Overview
Since I installed Ubuntu 20.10 on a Raspberry Pi 4, I migrated the mail server and WordPress running on my current home server over to the Raspberry Pi. These are my notes.
Environment Tested
Raspberry Pi 4 Ubuntu 20.10 (arm64)
$ nginx -v
nginx version: nginx/1.18.0 (Ubuntu)
$ certbot --version
certbot 1.11.0
Prerequisites and Preparation
Complete the Ubuntu installation, PPPoE settings, and domain settings in advance. This is the same as what I did previously on the Pi 3, so I will omit the details.
Connect with PPPoE on Ubuntu 19.10 and open ports.
Regularly run the dynamic DNS settings for a custom domain acquired through Onamae.com from Ubuntu
[Raspberry Pi 4] Headless installation of Ubuntu 20.10. How to install without a keyboard or display
The Raspberry Pi starts from a state where Ubuntu has already been installed, eth0 has a static IP address, and it is connected to the HGW by wired LAN.
As shown below, I set a static IP address in /etc/netplan/50-cloud-init.yaml. 192.168.1.1 is the HGW address.
$ cat /etc/netplan/50-cloud-init.yaml
network:
ethernets:
eth0:
dhcp4: no
dhcp6: no
addresses:
- 192.168.1.40/24
gateway4: 192.168.1.1
nameservers:
addresses:
- 8.8.8.8
- 8.8.4.4
match:
driver: bcmgenet smsc95xx lan78xx
optional: true
set-name: eth0
version: 2
Since the Raspberry Pi will make the PPPoE connection, I temporarily disconnect PPPoE on the current home server while working. I cannot fully switch over until the migration is finished, so after finishing the work on the Raspberry Pi, I return the PPPoE connection to the current home server. It is a little tedious, but it has to wait until the migration is complete.
Disconnect PPPoE on the current home server.
# PPPoEを切断する
$ sudo poff
Connect from the Raspberry Pi with PPPoE. After connecting, register with dynamic DNS.
# PPPoEで接続
$ sudo pon dsl-provider
デフォルトGWがHGWになっているので一旦消す
$ sudo route del default gw 192.168.1.1
お名前.com のDNS情報のアップデート
完全に移行できる状態になるまで Cron等での自動実行はさせないでおく。
$ /usr/local/bin/onamae.com_dns_update.py
After running it, wait a little until the name resolves to the new address. It should be reflected within a few minutes.
Install Nginx and Certbot
Install Nginx.
Nginxのインストール
$ sudo apt install nginx
・・・(省略)
ポート80と443を開放する
$ sudo ufw allow http
$ sudo ufw allow https
UFWはこんな状態
$ sudo ufw status
Status: active
To                         Action      From

22/tcp                     LIMIT       Anywhere
443/tcp                    ALLOW       Anywhere
80/tcp                     ALLOW       Anywhere
22/tcp (v6)                LIMIT       Anywhere (v6)
443/tcp (v6)               ALLOW       Anywhere (v6)
80/tcp (v6)                ALLOW       Anywhere (v6)
Install Certbot, which obtains and renews Let's Encrypt certificates.
This also just follows the procedure on the official site.
https://certbot.eff.org/lets-encrypt/ubuntufocal-nginx
$ sudo snap install core; sudo snap refresh core
core 16-2.48.2 from Canonical✓ installed
snap "core" has no updates available
$ sudo snap install –classic certbot
certbot 1.11.0 from Certbot Project (certbot-eff✓) installed
$ sudo ln -s /snap/bin/certbot /usr/bin/certbot
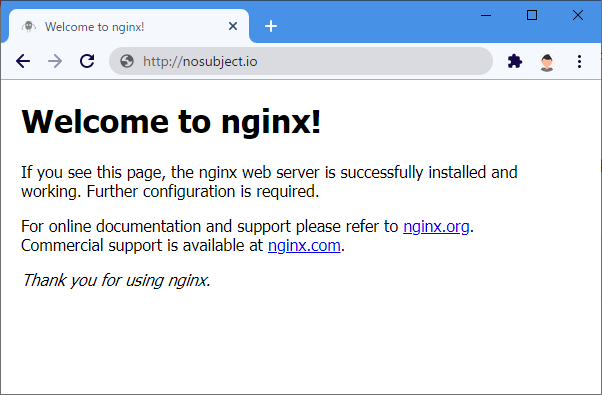
Before running the command to obtain the certificate, check whether DNS has propagated and whether Nginx's welcome page, in my case /, is displayed. I do not think you can obtain a certificate unless this state is ready.
Obtain a Let's Encrypt SSL Certificate
Once you confirm that the site can be reached by domain name, obtain a Let's Encrypt certificate.
# 証明書の取得
$ sudo certbot certonly --nginx
・・・(省略)
Along the way it asks for an email address and domain name, so enter them accurately.
When execution finishes, the certificate has been obtained and the Nginx settings have also been updated.
The certificate is obtained under /etc/letsencrypt/live.
If you look at /etc/nginx/sites-available/default, you can see that the settings have been added.
 # SSLの設定や http → https への転送設定などが自動で追加されている
    listen [::]:443 ssl ipv6only=on; # managed by Certbot
    listen 443 ssl; # managed by Certbot
    ssl_certificate /etc/letsencrypt/live/nosubject.io/fullchain.pem; # managed by Certbot
    ssl_certificate_key /etc/letsencrypt/live/nosubject.io/privkey.pem; # managed by Certbot
    include /etc/letsencrypt/options-ssl-nginx.conf; # managed by Certbot
    ssl_dhparam /etc/letsencrypt/ssl-dhparams.pem; # managed by Certbot
Check the Certificate
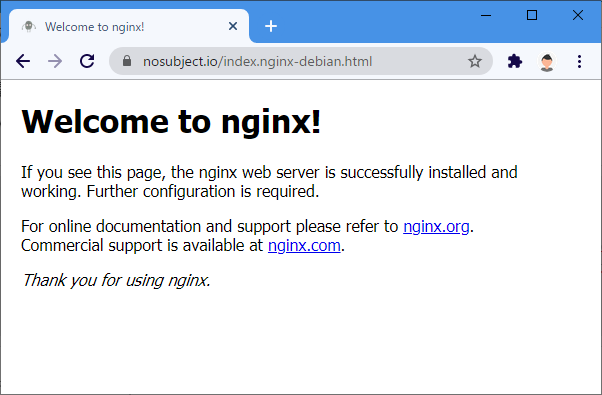
When you connect to your home domain from the browser again over HTTP, you can see that it is automatically redirected to HTTPS. (⚠/ becomes 🔒/)
Also check it from a test site. Access the site below and enter the domain name of your home server in the hostname field.
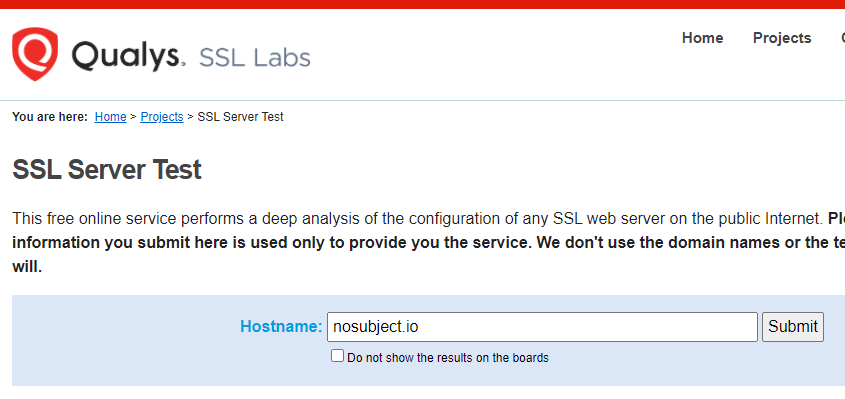
Enter the domain name and press Submit to start the check.
If the grade is A or higher, it is OK. If it is B through F, something is apparently wrong with the configuration.
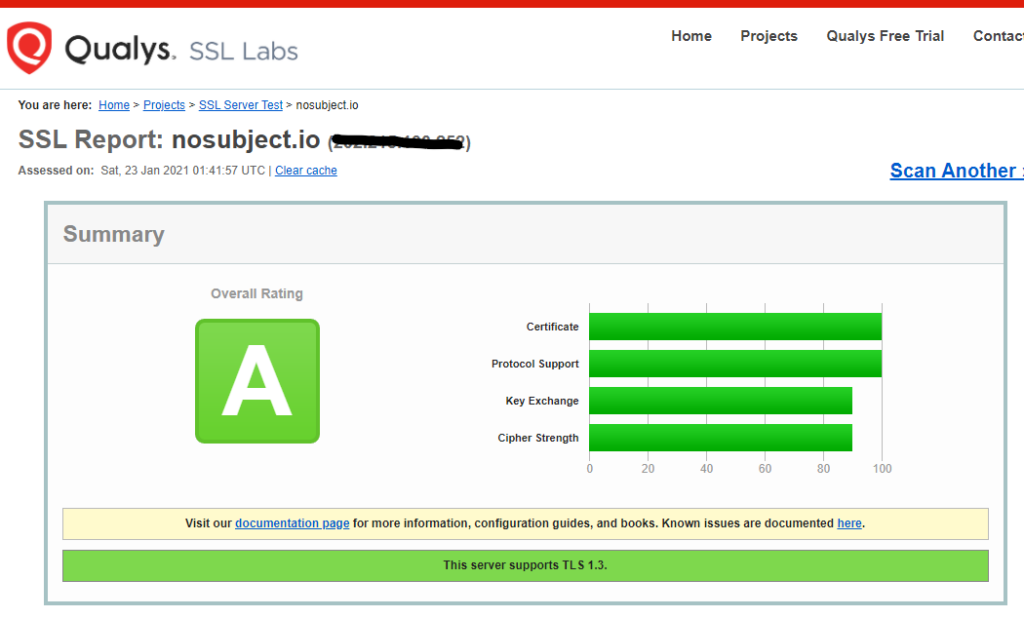
With Let's Encrypt, I think you will probably get an A rating.
That completes the Nginx and Let's Encrypt setup.
Cleanup
The migration is not finished yet, so disconnect the PPPoE connection.
# PPPoEを切断する
$ sudo poff
# デフォルトGWを戻す
$ sudo route add default gw 192.168.1.1
Once you are able to keep the PPPoE connection up all the time, delete or comment out the following line from /etc/netplan/50-cloud-init.yaml. It is painful to run the route command every time after rebooting.
# gateway4: 192.168.1.1Summary
Next, using the Nginx and certificate installed here, I will build WordPress and a mail server.
- [Raspberry Pi 4] Build a mail server (Postfix + Dovecot) with Docker.
- [Raspberry Pi 4] Run WordPress with Docker.

I would like to use Docker to build WordPress and the mail server.